How to make a header image in Google Forms
Google Forms is out of the easiest form-builder tools you could use to create a quick form or survey. While you can bring some design customization to the form, you might want to bring even more personalization to it.
In this article, we are going to show you how you can set up a header image in Google Forms so you could make your form more attractive and suggestive to your respondents.
On the other hand, we are going to explore 123FormBuilder and how using our form-builder can help you create a more complex form from a design perspective.
How to add a header image in Google Forms
Assuming you have already created your Google form, now you’d like to bring a personal touch to it.
In order to access the design area in Google Forms, you have to click the palette in the top right corner of the page.

In the Theme section, you can modify the text style, the color and the background color. Besides that, you have an option called Header.
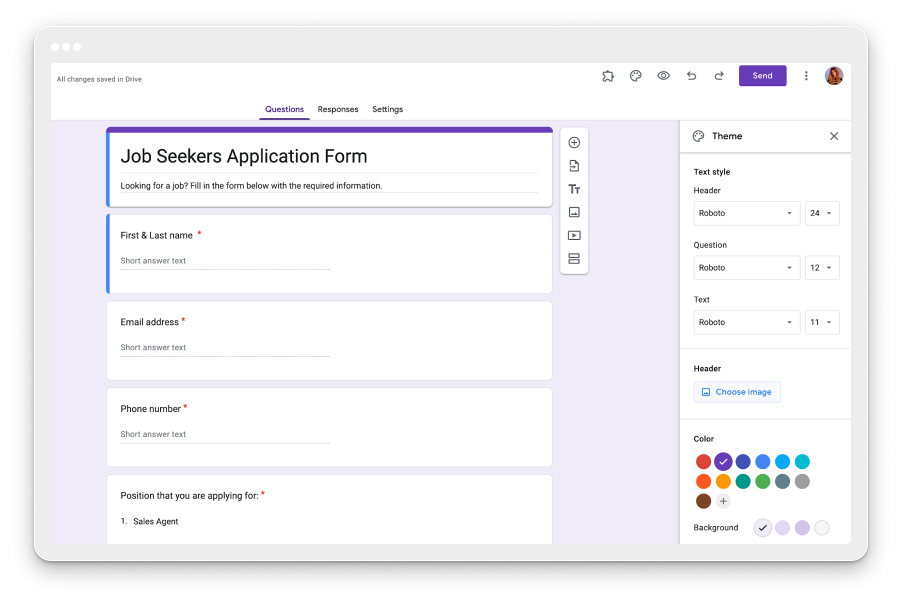
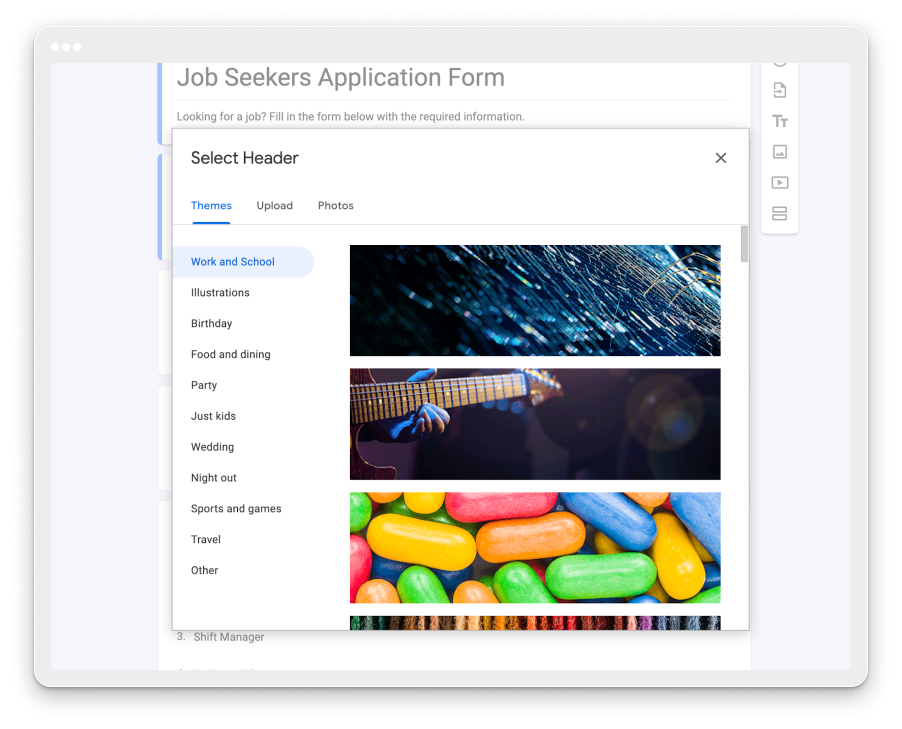
By clicking on the Choose image button, a modal opens up from where you can choose between a lot of photos or even upload your own. Let’s take them one by one.
The first one is Themes – here you can browse between different categories in order to find the header image that best fits the needs of your form. One note regarding themes – when choosing a header image, an overall theme applies to the form. This means that the colors of the form will automatically change once you select a header image, as they come with a theme attached.
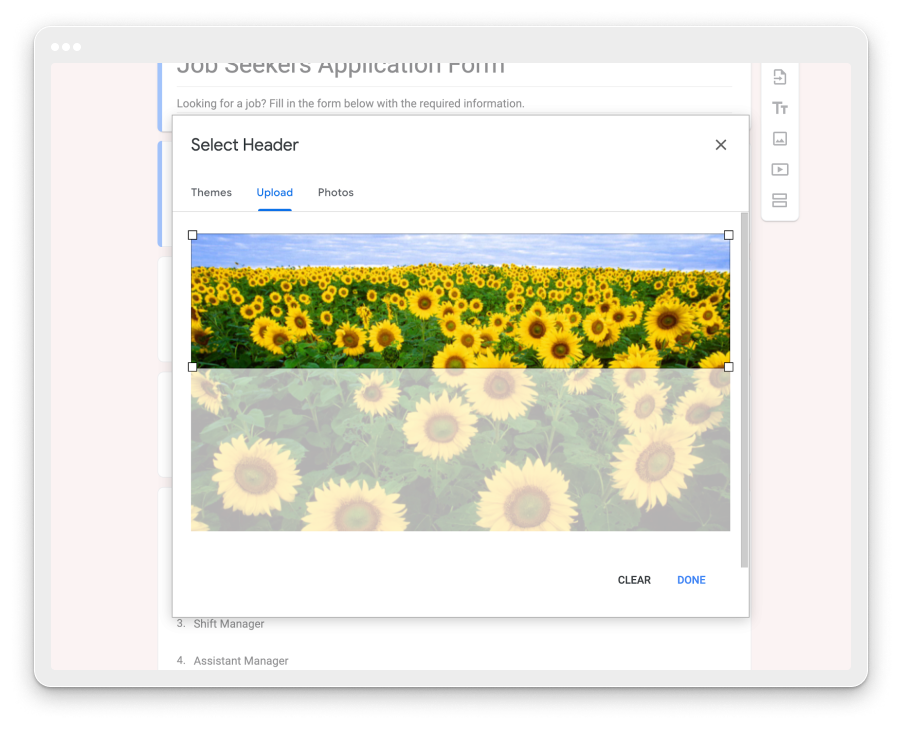
The second option is Upload. Here you can browse for an image that is on your device. Once the photo is uploaded, you have the option of cropping and fitting the image into a predefined container so that it would look good on your form.
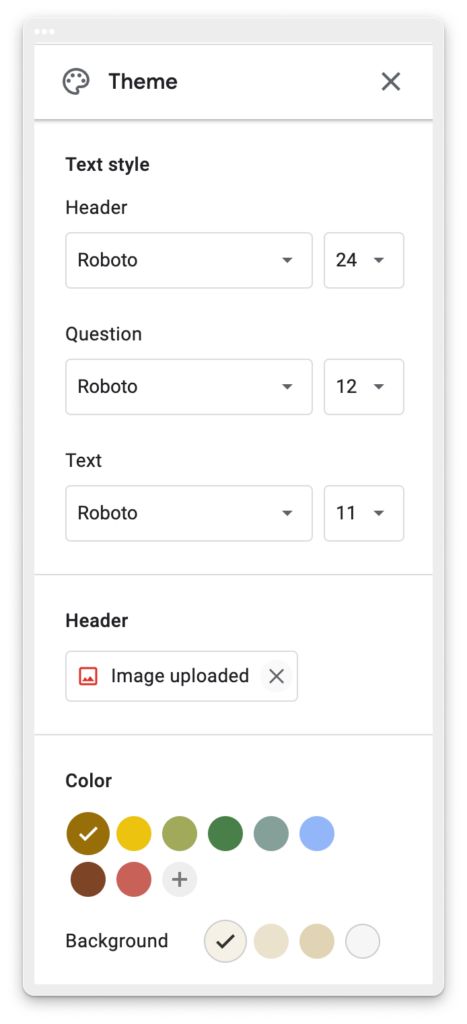
If you want to remove an uploaded image, all you have to do is click on the x icon within the Image uploaded button.
How to add a header image in 123FormBuilder
If you want to bring even more customization from a design perspective to your form, Google Forms might not be exactly what you are looking for.
On the other hand, 123FormBuilder offers you extensive options for designing your form.
As the header image is concerned, we are going to show you how to add one to your 123FormBuilder form.
Let’s take a Cake Order form as an example. Overall, it looks really nice, the colors are visible, and the font is easy to read. Nonetheless, we would like to add a header image to the form so that our respondents could easily scan the form and quickly understand what it is about.
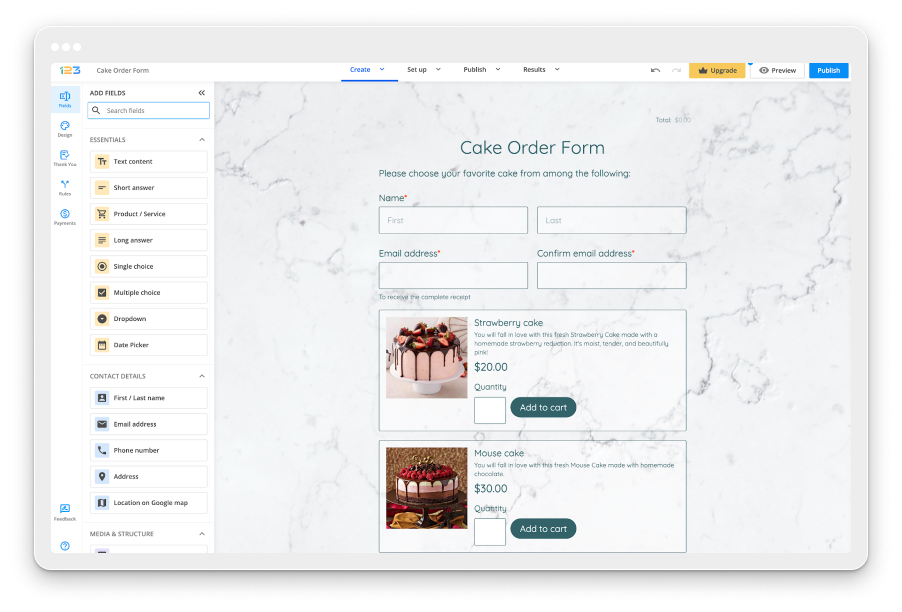
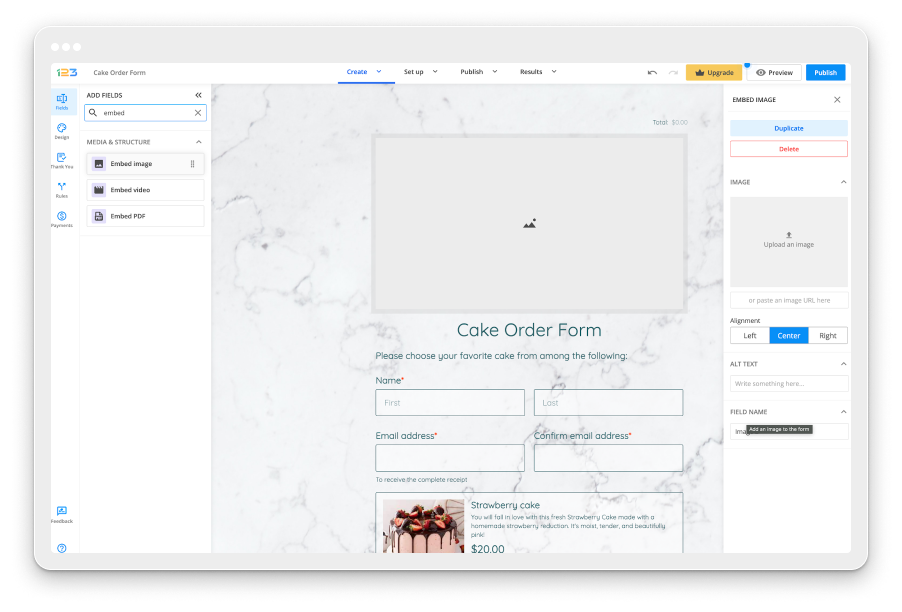
You would need to add an Embed image field right at the top of the form. Once added on the form, on the right side of the screen you’ll notice a side panel with all the settings you could apply to Embed image field.
In order to upload a photo, click on Upload an image box.
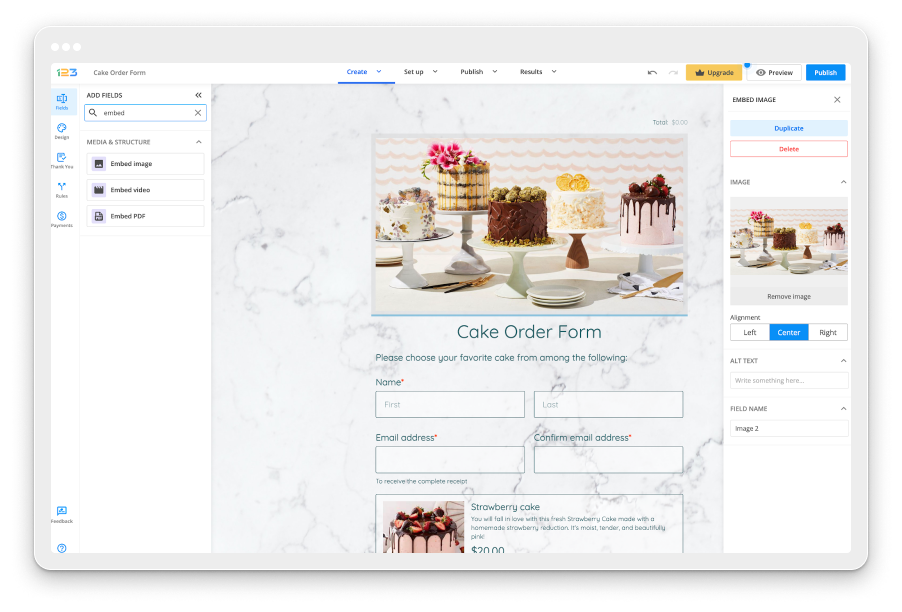
If you want to resize it, just hover over the image and you’ll notice some blue bars – just drag and slide them in order to fit your photo according to your needs. You can also choose the alignment of the photo – left, center or right.
Header image is only one design aspect that you could bring to your form. Don’t hesitate to navigate to our Design section in order to explore changes that you could bring to your form.
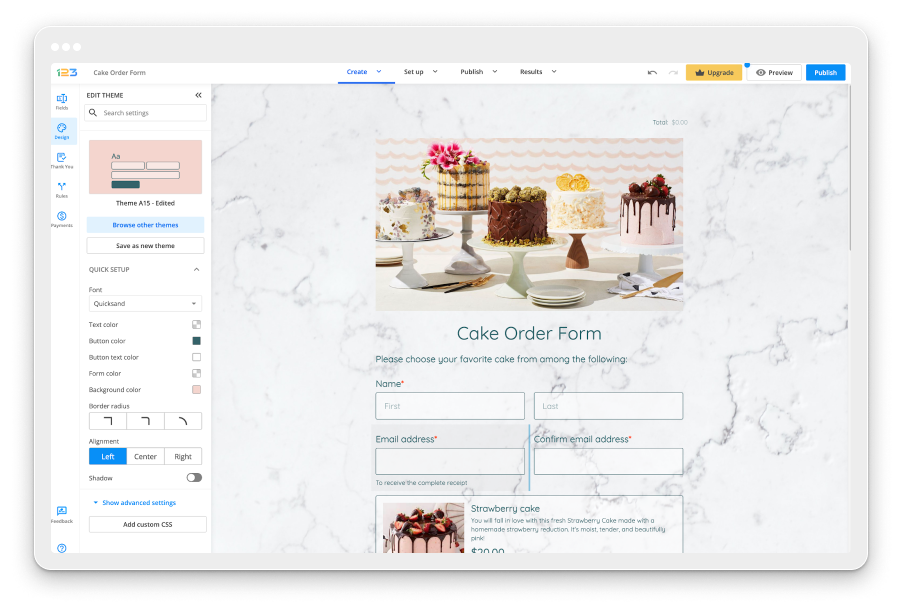
You can apply a different theme to the form and save your own theme in order to use it for a future form. You can go in real depth with design settings that apply to the layout of the form, its background, fields and buttons.
Enhancing your Google Forms or 123FormBuilder forms with a header image can significantly personalize and improve their visual appeal. Whether opting for Google Forms’ simplicity or 123FormBuilder’s advanced customization options, both platforms offer flexibility for creating engaging forms. Experiment with themes, colors, and layouts to craft forms that reflect your brand identity and captivate your audience. So, take advantage of these features and make your forms stand out. Happy form building!
Load more...