How to customize Address subfields on your 123FormBuilder form
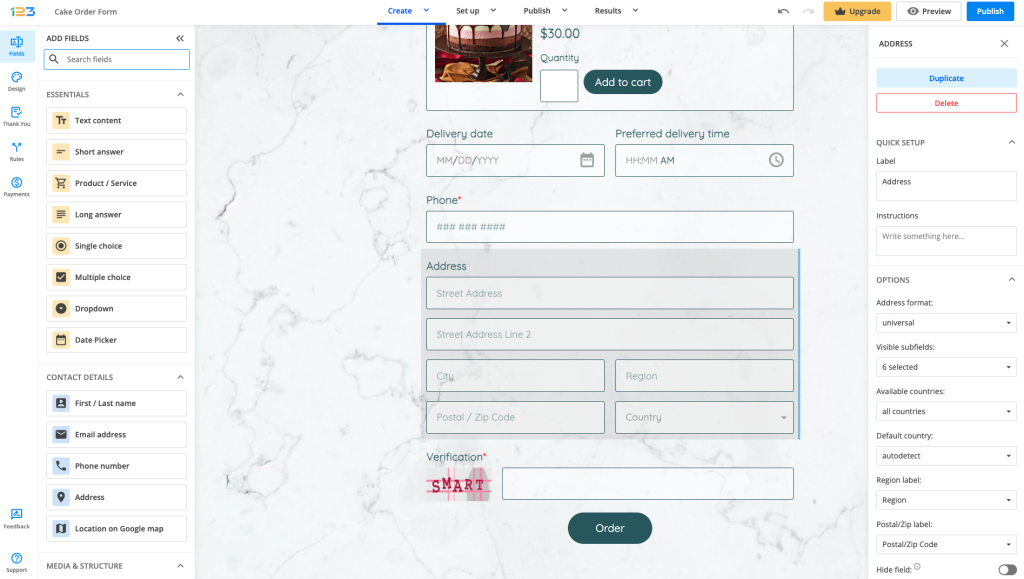
Once an Address field has been added on the form, you will notice that by default, it looks like below, containing:
- Street address
- Street address line 2
- City
- Postal/Zipcode
- Region
- Country → automatically filled in
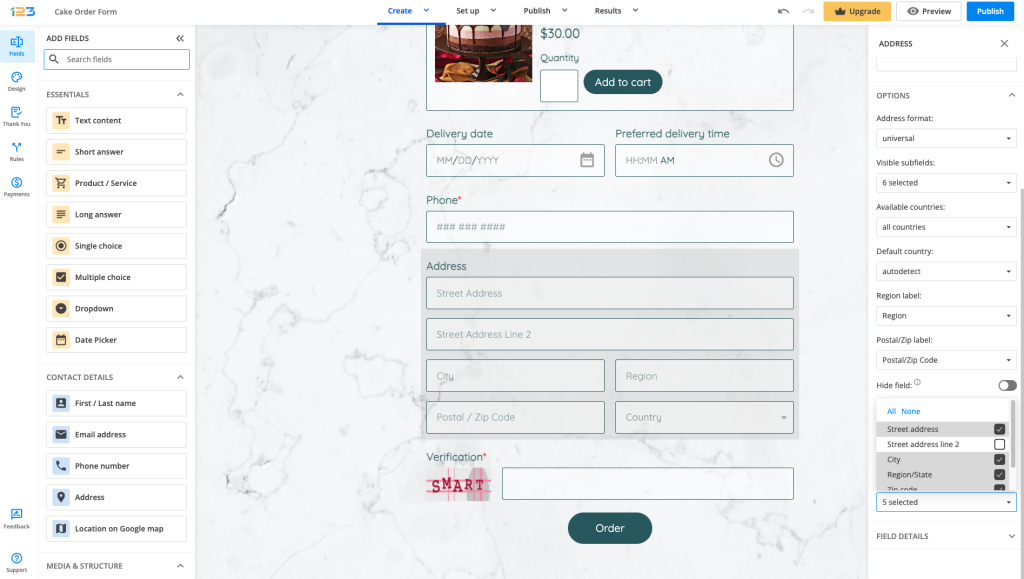
Required field – under Validation section, there is an option of making the field required. Unlike the other fields, here you can select which subfields from Address are required. You can select All, some subfields or clear all your selections by clicking on None.
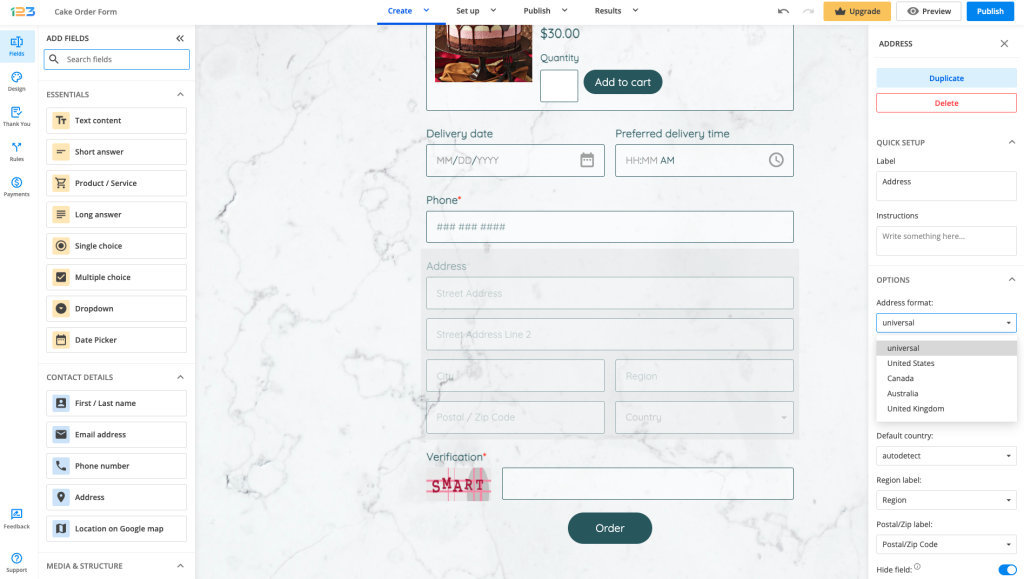
Address format – by default, it is set as universal, but you can change it to fit United States/ Canada/Australia/United Kingdom format.
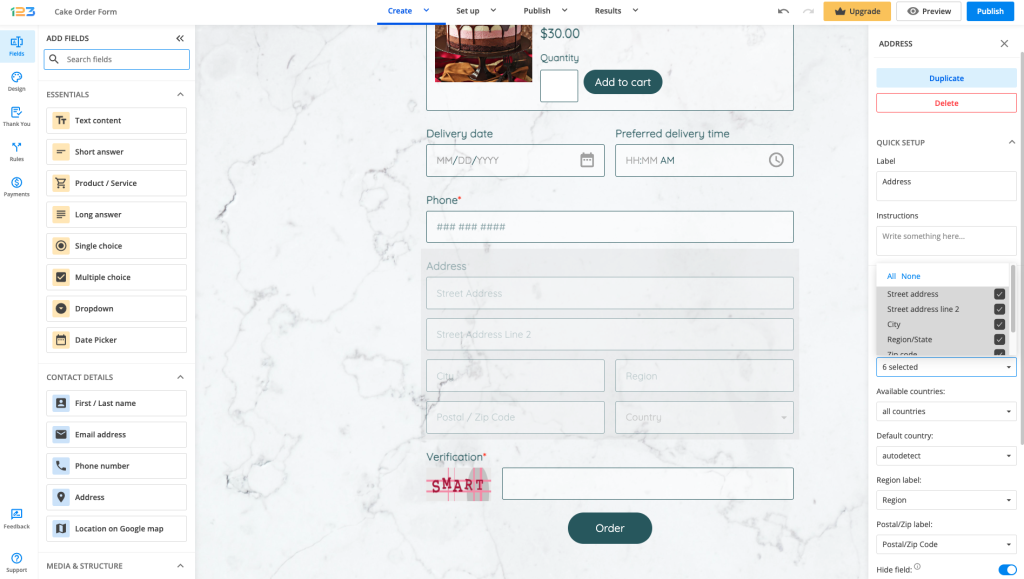
Visible subfields – by default, all subfields are visible, but if you don’t want some of them to show up, you simply have to untick them.
Available countries – by default, all countries are available, but you can select the ones that you are interested in by checking them in the dropdown. You can select from 250 available countries and international entities. To uncheck them all, simply click None, on top of the dropdown list. You also have the option to check All countries back.
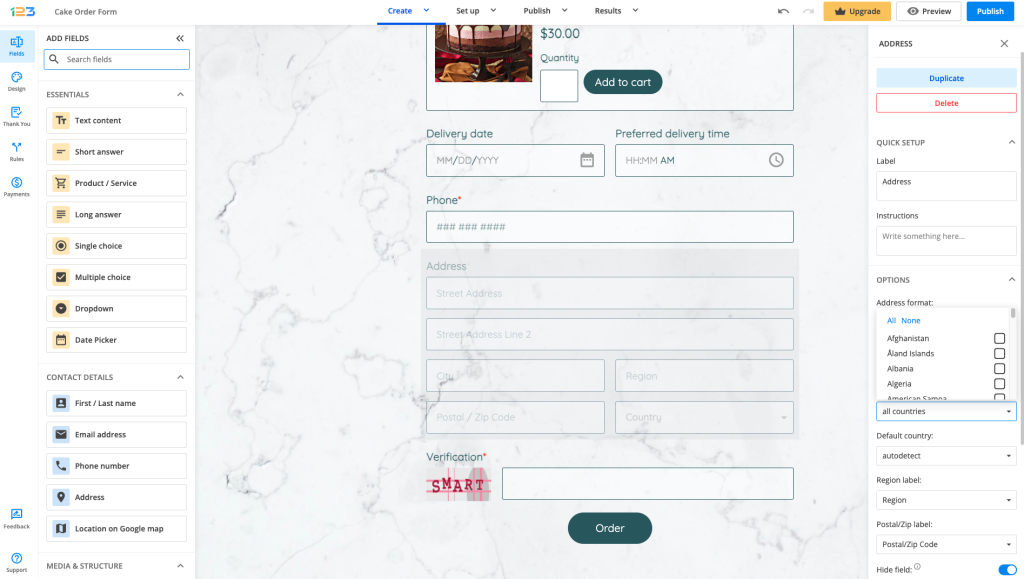
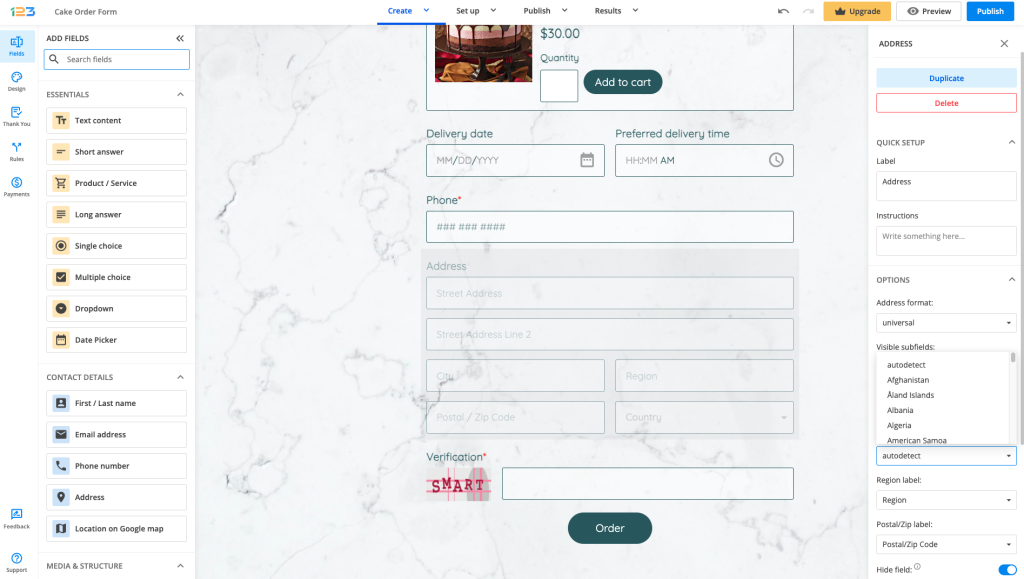
Default country – by default, it is set as autodetect, this meaning that the Country subfield will automatically populate on the form depending on the respondents’ IPs. You can select one country to be the default one and it can be changed by respondents on the form if it is not applicable to them.
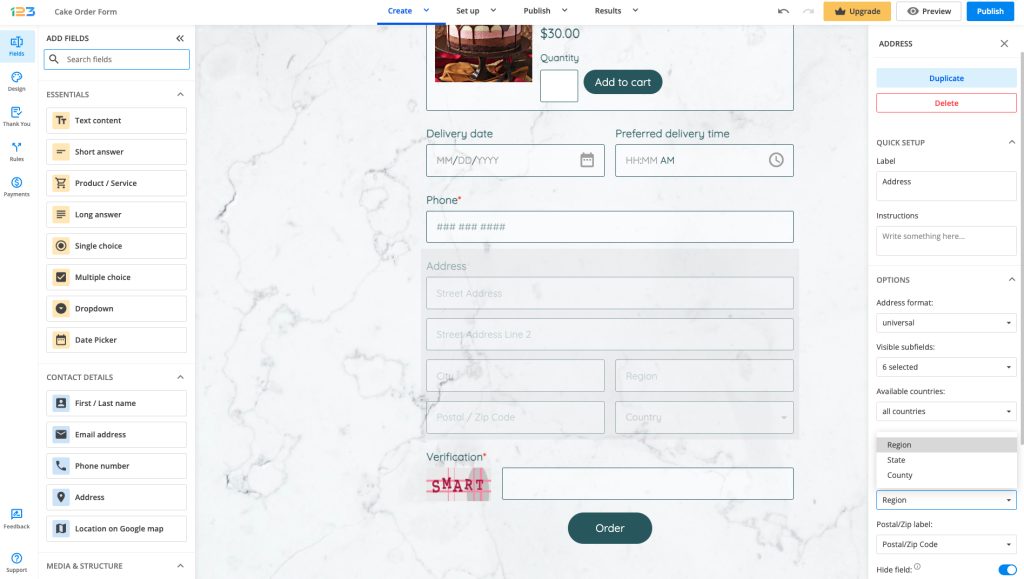
Region label – by default, it is set on Region, but you can change it to fit your needs. If you want to use the Region/State/County option, notice that it only changes the placeholder inside the subfield. In order to use your form on a global scale, where some form users might come from region-divided nations or states, such as the United States or Mexico, you could use Translations and write down your own placeholders, for example, “Region/State”.
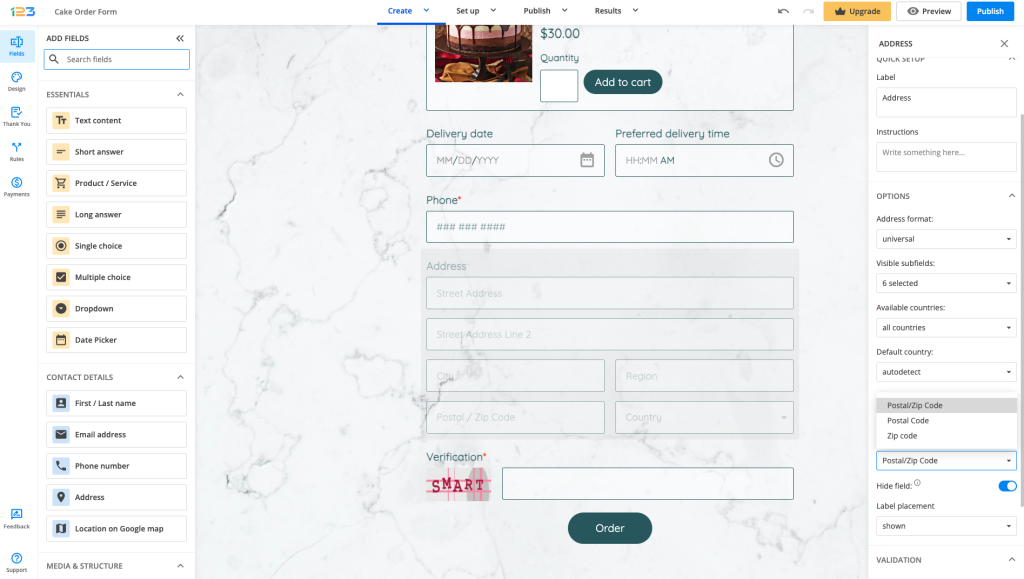
Postal/Zipcode – by default, it is set on Postal/Zipcode, but you can change it to only one of the option.
Similar Articles
Frequently Asked Questions
Here is a list of the most frequently asked questions. For more FAQs, please browse through the FAQs page.